Even if you are still mastering your brand’s aesthetic, you already know where you want to delight your audience with the details.
Trust that you can create captivating work with basic tools. Be patient and apply yourself to learning about the core principles of photography (like lighting, exposure). And have fun while doing it!
Today we’ll discuss:
- the different types of cameras you can use
- Apps for photo editing on iPhone + Android
- Light Sources, both natural + artificial
- *bonus* – Setting up your flat lay photography studio
- An introduction to batch processing

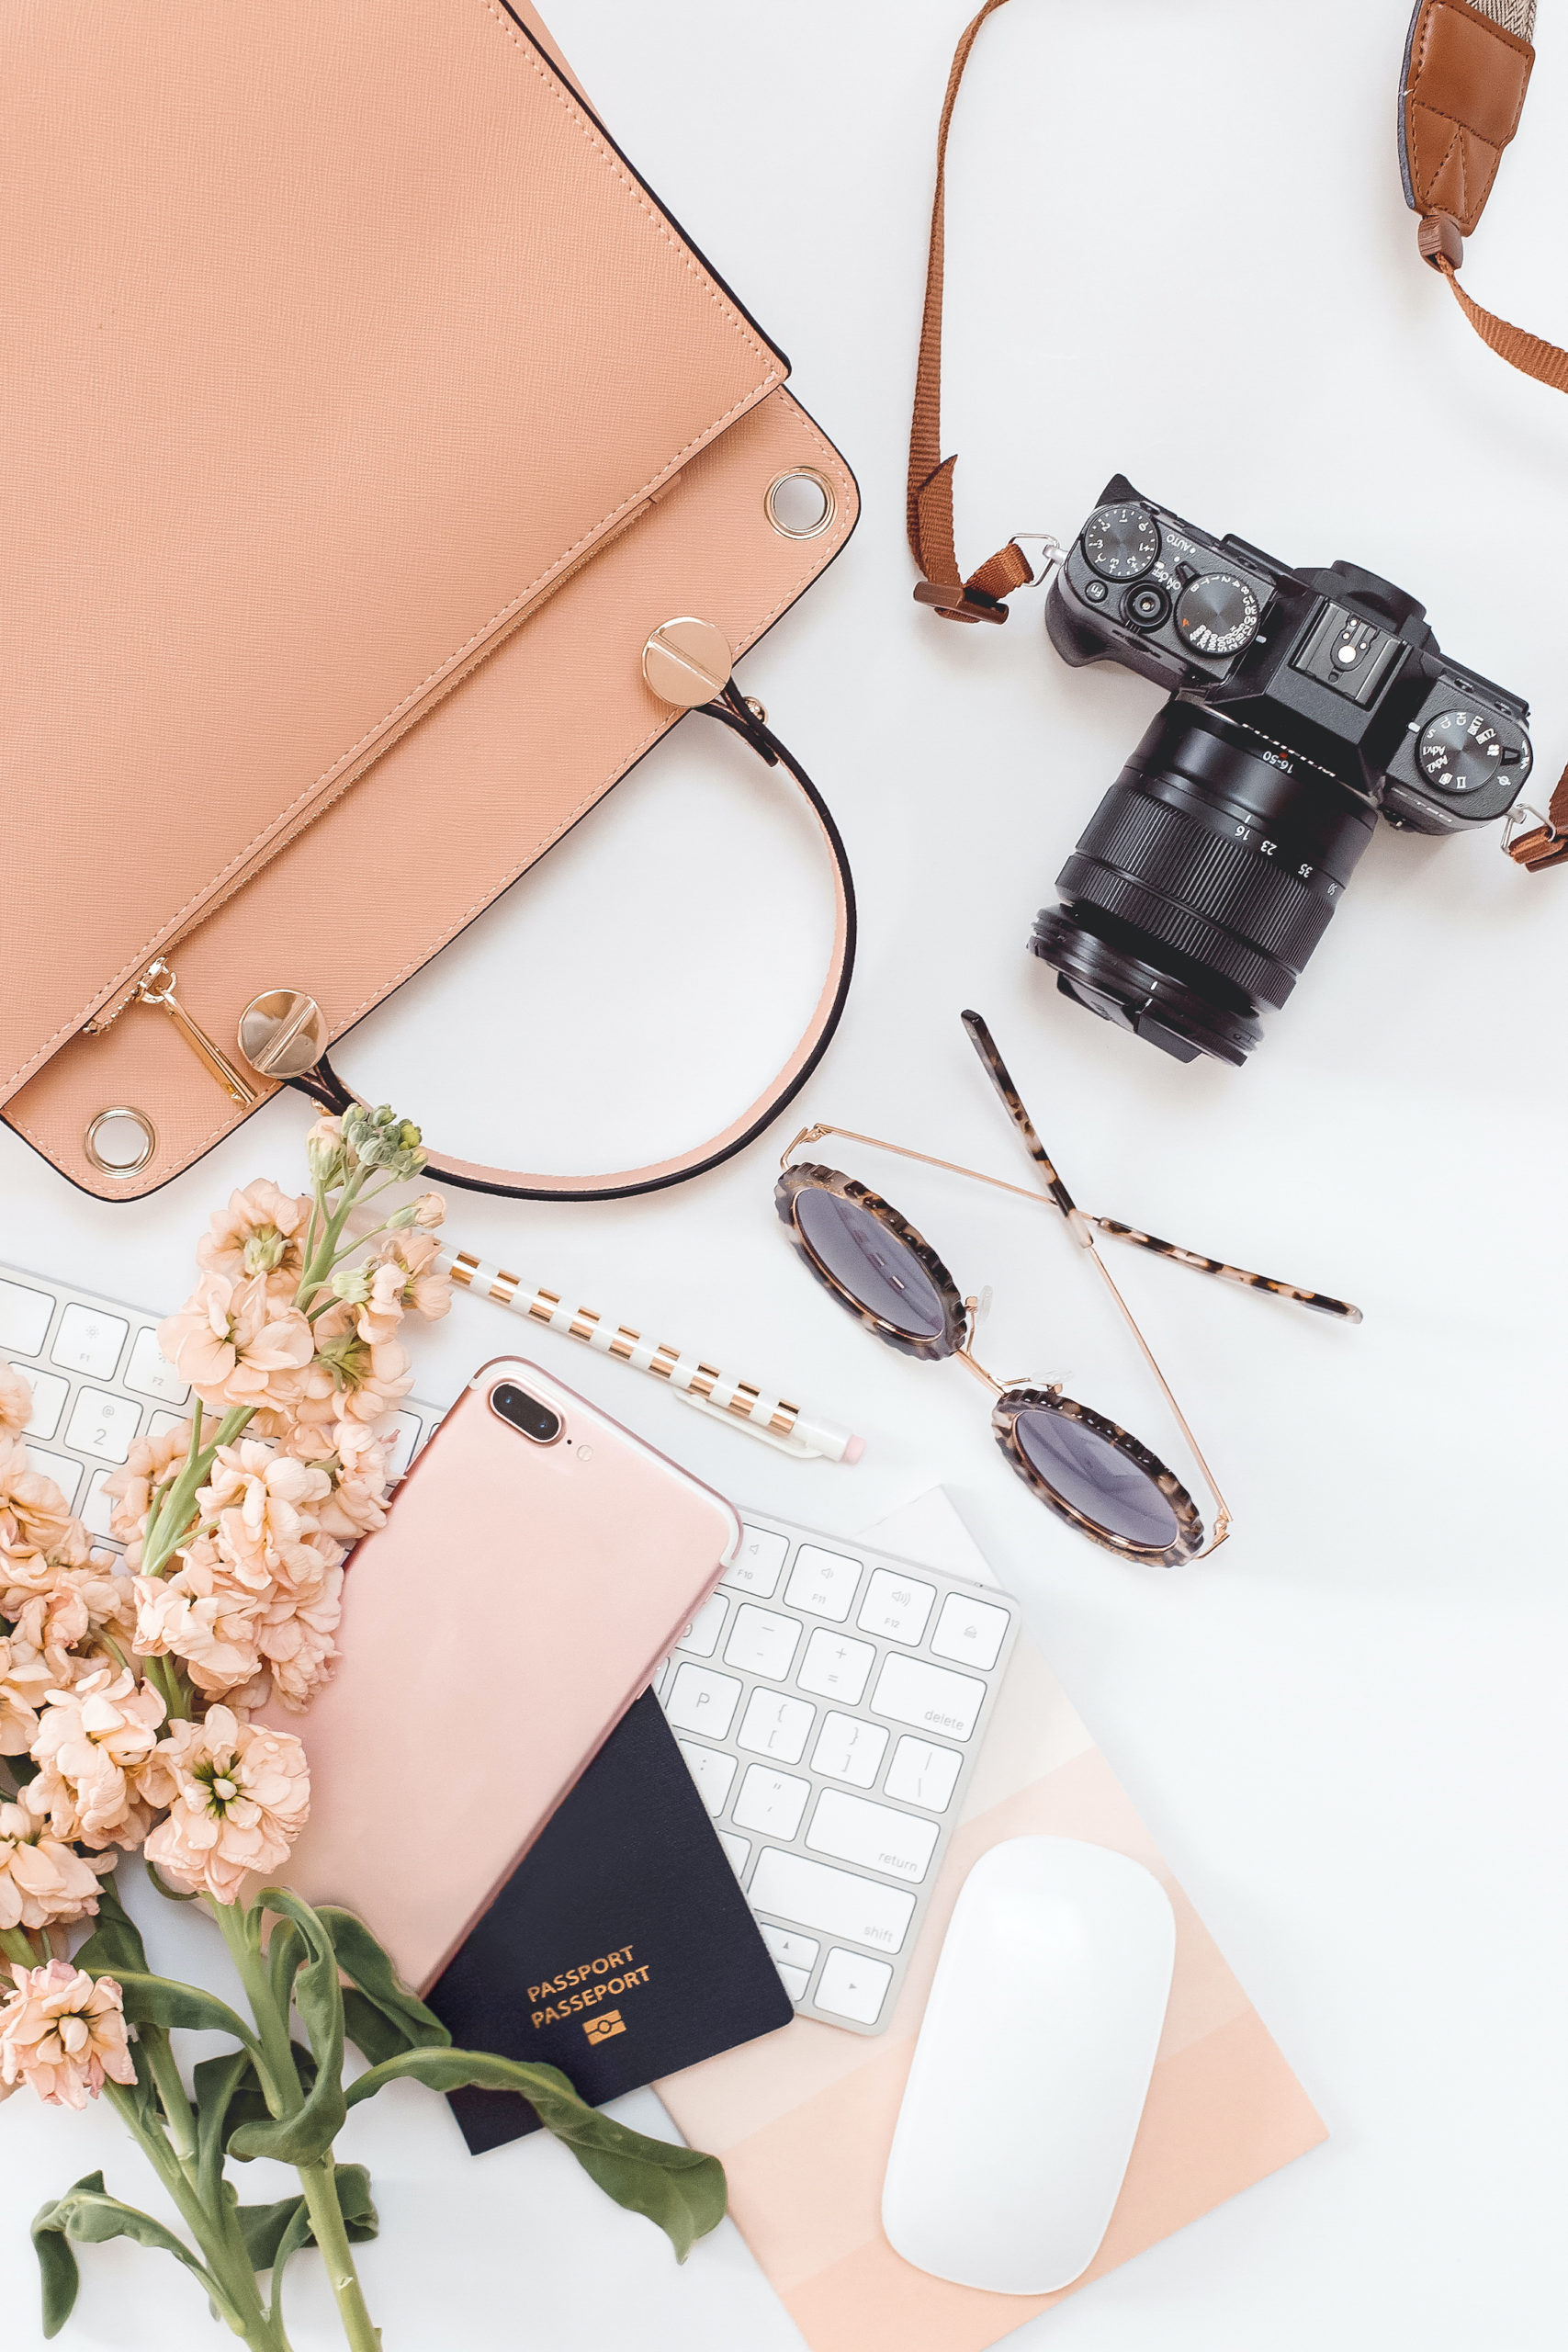
Working With Cameras
Pick your device: DSLR, Point & Shoot, and/or Mobile Phone.
You can take a great flat lay with any of them.
DSLR cameras are great for capturing more detail, in a wider frame (so you get more items, in one photo, without having to stand on a 6-foot ladder).
Today, our cell phones have amazing cameras and are sometimes even preferred due to the importance of lighting and composition.
Introduction to DSLR/Point & Shoot Settings
F-stop, Shutter Speed, & ISO are key settings that adjust the exposure or light brightness & focus.
F-stop (Aperture)
is the number of items that will be in focus. The lower the f-stop, the more objects the lens will focus on.
Normally this number looks like 1.4 (sharp focus on the object directly in front, blurry background), 1.8, 3.5-5.7 & up to 20+.
For photos like flat lays, which have multiple objects to bring into focus, an f-stop set at 8 is a good starting point, depending on the amount of light.
Shutter Speed
is the amount of time the camera’s lens (eye) stays open.
The longer it’s open, the more light is gathered & the brighter the photo. However, the longer the eye stays open, the more likely any camera shake (e.g. while holding the camera for the shot) can be captured by the camera; so you want to play around with this setting (use a little higher, until you don’t see as much blur) if you don’t have a tripod.
The ISO setting affects the camera’s sensitivity to light. Higher ISO levels cause the image to be ‘grainy’ or have ‘noise’.
Bonus Chart: DSLR Settings Infographic
Essentially, you’ll be tweaking all three of these settings in relation to each other to get the best shot based on your specific lighting setup. Here’s a helpful visual I found showing examples of the effects of the different ranges of Aperture, Shutter, & ISO that I just had to share!

Camera Support
There are at least 3 different ways to shoot a flat lay photo, depending on the height of your studio area and your goals. Can be used for shooting facing download, but is best with a Tripod Extender
Tripod
Can be used for shooting facing download, but is best with a Tripod Extender (next)

Tripod + Extender
This is useful for extending the camera out further than the tripod’s base, giving you more wiggle room. Here is an example of one you can purchase online.

Table Clamp

This works best on a table, where the Clamp attaches the articulated arm to the tabletop.
Simple is still best
Stay true to your budget and goals. I am happy to share the information about tripods, extenders, and articulating arms because when I started, I was excited to know about what was possible. I still do a lot of my shooting from overhead, by holding my camera. But the table clamp setup would be the most ideal, for my home, because of the higher level of images I take for my business.
Photo Capture + Editing Apps for iPhones & Androids
When it comes to taking photos, editing, and sharing, there are a number out there. I’ll just offer 2 incase you haven’t heard of them:
For iPhone & Android:
This is a staple, especially for the filters and clarity of the photos when taken by the app.
VSCO
Lightroom Mobile
FaceTune
Snapseed iPhone | Android
A Color Story
Lighting
Moving right along, let’s discuss two types of lighting to use when taking flat lays: Natural & Light Kits
Natural light
Preferred as it is the best for getting rich, natural colors and depths of color. It’s best to setup near a window, in the early hours of the morning, or after noon.
When the sun is highest in the sky, it gives a lot of ‘yellow’ light and also makes shadows on your objects harsher, which can be distracting (but, not always. So, it’s just not ideal).
Kit/Box Lights

Using lighting kits can be a great alternative for days when you can’t shoot until night, and have product shots that simply must be done. You have to take care in how you position the lighting to protect against harsh shadows and also the coloring of the photo may be tinged depending on the strength of light and the type of bulb.
It’s not the first choice of course, but you’re busy and want to produce quality content consistently. Attaining a softer, or more natural aesthetic is possible through editing the image with filters
Reflector
This helps you angle and bounce the light, so it reduces the shadows in your photos and makes the items sharper.

Or, you can make them at home, using the shiny side of aluminum foil, taped to a white foam board.
White Foam Board
This foam board is great for setting up a *light box* of white walls that bounces light back onto your flat lay. You can buy them from Walmart, in the school section. I’ve shared an example setup of my own in the photo below.

Break Up the Work
When it comes to setting up a batch process for taking your flat lays, it’s definitely about knowing the main feelings and experiences that you want to share through your photos. Ultimately, you are creating your own stock photo library (so exciting!). And so, for each photo you’ll take, gathering what you’ll need in advance, the purpose, preparation for the time you actually take the shots.
Sample Batch Process for Photography:
- 1-2 Days for Photoshoots, so you’re capturing all images at once
- 1 Day for Editing session – editing/resizing all images at once
- 1-Day for Scheduling content, ETC
A Note for Editing:
Make a list of the particular filters that achieve your brand’s aesthetic, depending on the app or program you use for editing. Apps like Lightroom (Computer), VSCO (mobile) and A Color Story (mobile) allow you to save the the editing steps you take (e.g. adjusting colors, adding filters). And VSCO even lets you paste those steps to the image.
Consider these questions:
- What are 3-4 main feelings or experiences you’ll communicate through your photos?
- What things (elements/props) would be pictured to show them?
@2x")